iOS 13 has, so far, been one of the best software versions in years in terms of jailbreakability. The checkra1n jailbreak has been kept well updated with the latest exploits, meaning every version of iOS 13 released at the time of writing can be jailbroken on all devices.
The one downside to the checkra1n jailbreak in its current form is that either a Mac or Linux computer is required in order to run the checkra1n software. Full Windows support is said to be coming at some point in the future, but there have been no indications as to when.
Anyone can, of course, install Linux on their own computer and run the checkra1n tool, but for many who are not experienced doing this, it can appear to be a complicated process. That is where bootra1n comes in. bootra1n is a purpose build version of Linux that can be run off of a USB flash drive and run the checkra1n jailbreak. Since checkra1n comes pre-installed with the Linux image, it makes jailbreaking from any PC as easy as possible for beginners.
Since this jailbreak takes advantage of a bootrom exploit, a computer is and always will be required. Another side effect of using a bootrom exploit is that the jailbreak is semi-tethered, meaning that if your device reboots for any reason you will need to re-run the jailbreak with your computer to re-enable all jailbreak tweaks and apps.
Requirements & Notes
- This is compatible with iOS 12.3 – 13.5
- This is a semi-tethered jailbreak (read jailbreaking step 7 below)
- A USB flash drive is required (512MB or larger) – all data will be deleted
- This currently works with the following devices:
– iPhone X
– iPhone 8/8 Plus
– iPhone 7/7 Plus
– iPhone SE (1st generation)
– iPhone 6s/6s Plus
– iPhone 6/6 Plus
– iPhone 5s
– iPad Air 1
– iPad Air 2
– iPad 5
– iPad 6
– iPad Mini 2
– iPad Mini 3
– iPad Mini 4
– iPad Pro 1
– iPad Pro 2 - This does NOT (and never will) work with:
– iPhone 11 Pro/Pro Max
– iPhone 11
– iPhone Xs/Xs Max
– iPhone Xr
– iPhone SE (2nd generation)
– iPad Pro 3
– iPad Air 3
– iPad 7
– iPad Mini 5 - Make sure to backup all your data to iTunes or iCloud before attempting this jailbreak
- This jailbreak is still in development and is therefore NOT RECOMMENDED to be used with a primary device. Proceed with caution.
Download Links
Written Guide
Installing & Running bootra1n
- On your Windows PC download the bootra1n ISO. Make sure to get the correct version for your computer, either 64-bit or 32-bit (check by pressing “Windows Key + Pause Break” or right-click ‘This PC’ in file explorer and click ‘Properties’)

- Download and run the latest version of Rufus, which will be used to flash the ISO image to a flash drive.
- Plug the USB flash drive you want to use into your computer. Make sure to back up any data on it, as this process will completely wipe everything on the drive.
- In the device drop-down, select the USB drive (make sure it’s the correct one). Leave the ‘Boot selection’ drop-down as ‘Disk or ISO image’, then click the ‘SELECT’ button and select the bootra1n ISO image.

- Leave all other options default (optionally you can change the volume label), then click ‘START’ to begin flashing the ISO to the drive. Click Yes for any warnings that appear.
- Once done, shut down your computer. With the flash drive still plugged in, turn the computer on and quickly press whichever key opens the boot menu for your specific computer/motherboard. It should tell you which keys do what when you first turn the computer on, but you may need to Google your computer/motherboard model if you cannot find it.
- In the boot menu, you should see the option to boot from a USB flash drive (the exact text may vary from device to device). Use the arrow keys to select this option and hit enter.

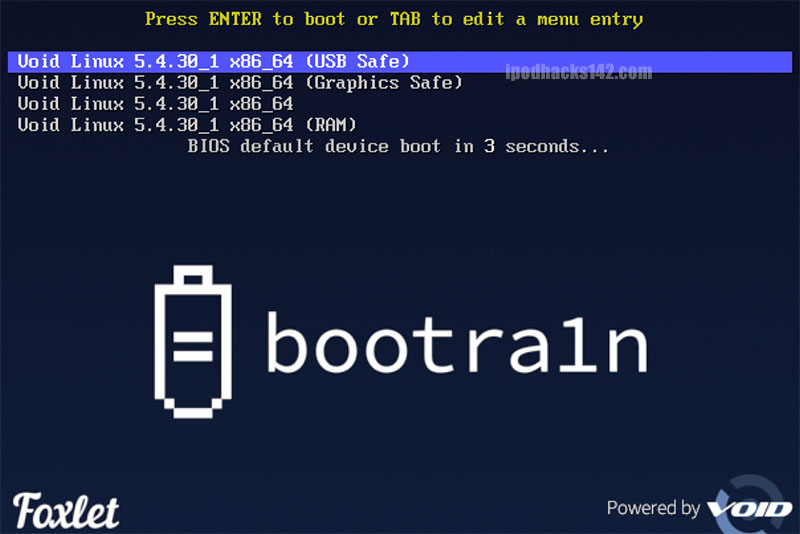
- When the bootra1n boot menu appears either wait 10 seconds to automatically boot, or select the third option (the one without brackets).

- Wait until the
void-live login:line appears and then log in with the usernameanonand the passwordvoidlinux(when typing the password nothing will appear on screen).

- Enter the command
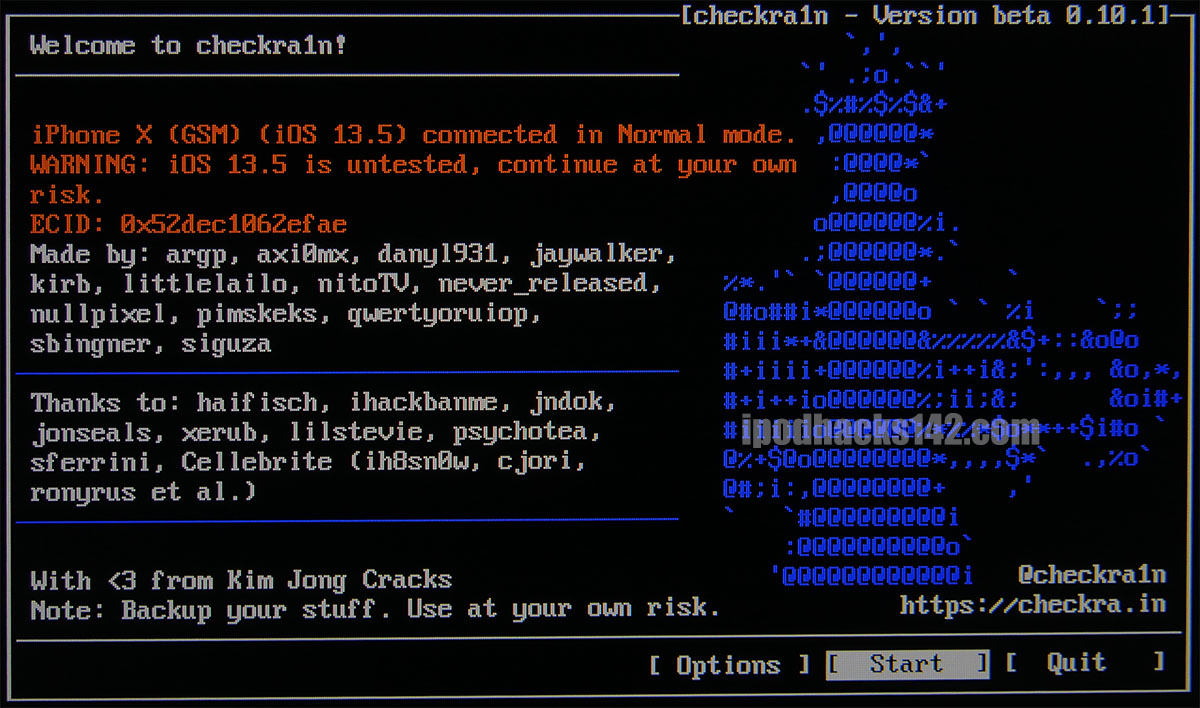
sudo checkra1nand hit enter to launch the checkra1n software.

If you have any problems loading bootra1n on your computer, check the troubleshooting section of the bootra1n Github page. Changes may need to be made to your computer BIOS settings in order to properly run bootra1n.
Jailbreaking with checkra1n
- Ensure your device is compatible with the checkra1n jailbreak (see list above) and that it is running iOS 12.3 or above.
- Plug your device into the computer and wait for it to be detected by checkra1n. When it is, use the keyboard to press ‘Start’ then ‘Next’ to put the device into recovery mode.

- Once the device is in recovery mode, instructions will appear to put the device into DFU mode. The process for this differs for each device, so click ‘Start’ and follow the instructions shown within checkra1n.

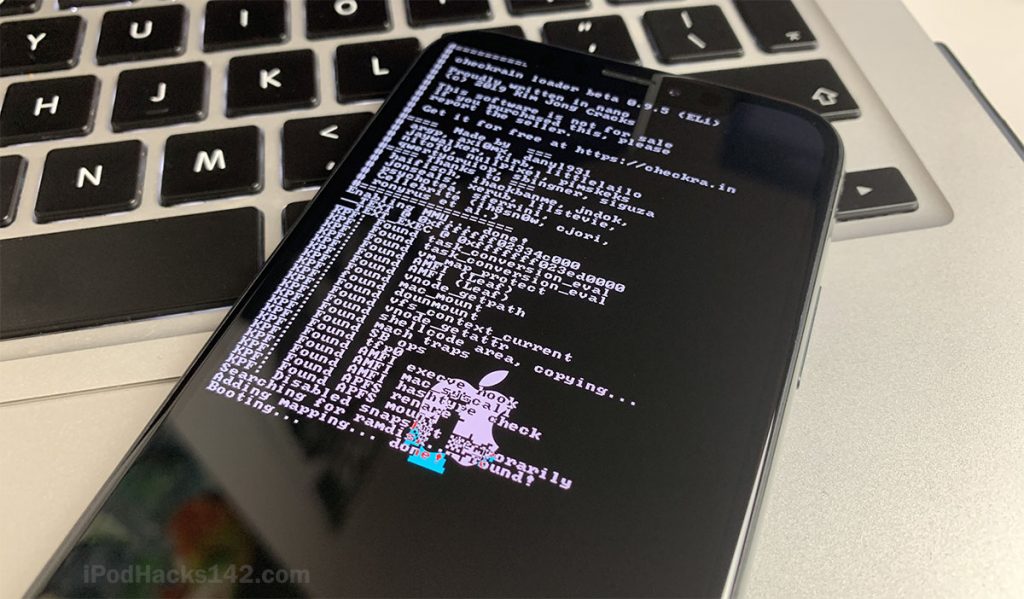
- Once checkra1n detects the device in DFU mode the jailbreak will begin. Do not unplug the device until it boots back up normally.

- Once the device boots there should be a new checkra1n app on the home screen. Open this and you will be given the option to install Cydia.

- Tap ‘Cydia’, then tap ‘Install Cydia’. Once installed the checkra1n app will close and Cydia will be on the home screen. You should now be able to use the jailbreak!

- IMPORTANT: Since this is a semi-tethered jailbreak, whenever you reboot your device all jailbreak tweaks and apps will stop working. To re-enable these you need to plug your device back into your computer and re-run the jailbreak as described in the steps above.
If while following the steps above you experience any problems, check out this article which outlines fixes for common checkra1n problems.
Video Guide
ALSO SEE: Is it Still Worth Jailbreaking Your iPhone in 2020?


Provident Botanico is a luxurious residential project in the heart of a thriving urban landscape. With its blend of modern architecture and lush greenery, Provident offers residents a serene retreat amidst the hustle and bustle of city life. The heart of Provident lies in its lush green spaces and recreational amenities. The development offers state-of-the-art fitness facilities for those seeking an active lifestyle, including a gymnasium, yoga studio, and swimming pool. Provident Botanico offers the perfect blend of modernity and nature, making it the destination for discerning homeowners.
Wow
Explore the perfect blend of relaxation and earning potential at the casino uden om ROFUS – https://onlinecasinoudenrofus.dk/ in Denmark! Unwind with exciting games while effortlessly making money. Join us today for a stress-free gaming experience! 💰🎰 #casinoudenomrofus
Thank you for sharing this informative article. I am very interested in the information you have shared. doodle baseball
I’d like to express soccer random my appreciation for you sharing this outstanding article.
Thanks to onlineghosthacker247@ gmail .com For helping me track and hack all access to my ex boyfriend that defrauded me of a lot. I can’t thank them so much as I don’t know how else to. So happy. It was quite affordable and YES totally reliable and accurate. Now I am happy again. Just explain your situation to them.